
Video for this blog post: 👉 Watch the YouTube tutorial
Overview
In this post, I’ll show you how to create a custom connector for the OpenWeatherMap API and then use it in Power Automate and Power Apps (Canvas).
We’ll go step by step: Test the API (Postman) → Create the connector → Define the action → Test the connection → Use it in flows and apps.
Why a Custom Connector?
The Microsoft Power Platform includes many out-of-the-box connectors. But if your system or your API isn’t among them, you need a flexible solution.
With a custom connector, you can integrate any REST API — such as project management, accounting, or AI services. For this tutorial, we’ll use OpenWeatherMap as a simple, practical example.
Prerequisites
- Access to Microsoft Power Platform (Power Apps / Power Automate)
- A free OpenWeatherMap account including an API key
- Postman for quick API testing (free)
Step 1: Test the API Call with Postman
Before actually creating the custom connector, it makes sense to test the API call with Postman. This is optional but helps for the next steps.
- Create a new request (GET).
- Use the URL from the OWM documentation, e.g.:
https://api.openweathermap.org/data/2.5/weather?lat=48.17&lon=11.61&units=metric&appid=YOUR_API_KEY - Click Send — if successful, you’ll receive status code 200 and a JSON response with weather data.
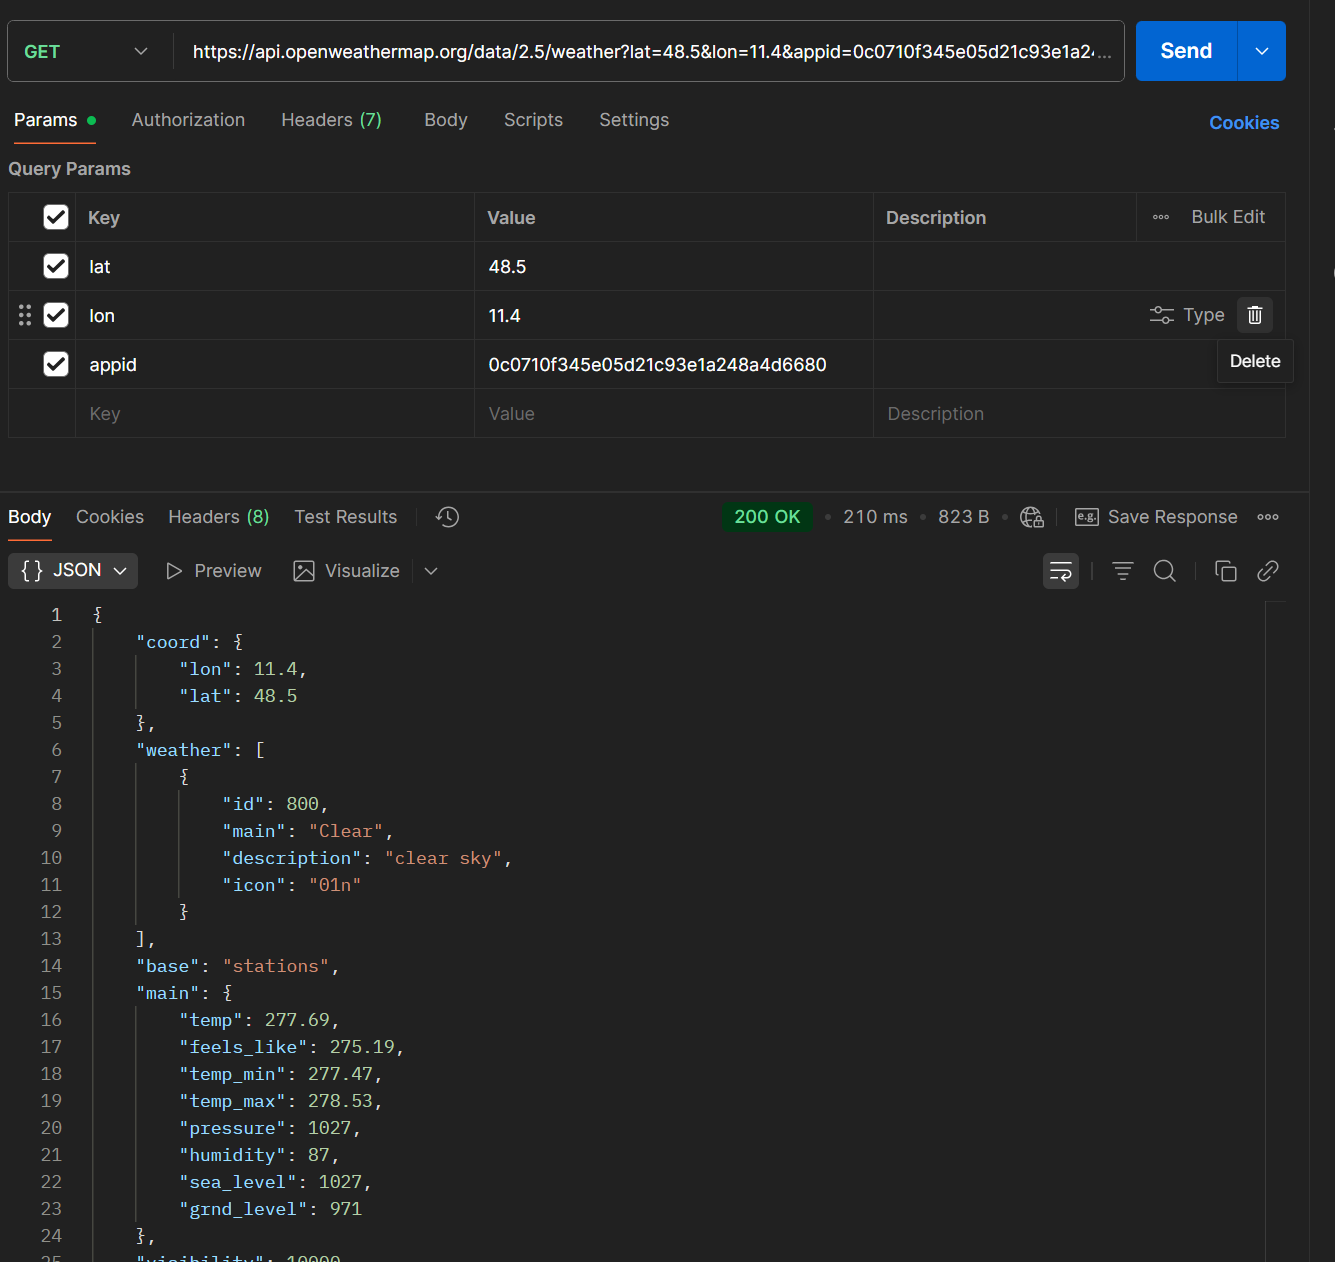
Postman: Successful GET call with status 200 and JSON response.
Typical response fields (shortened):
{
"weather":[{"main":"Clear","description":"clear sky"}],
"main":{"temp":21.3,"feels_like":21.0,"humidity":45},
"wind":{"speed":3.6},
"name":"Munich",
"coord":{"lat":48.17,"lon":11.61}
}
Step 2: Create the Custom Connector in Power Apps
Go to make.powerapps.com → Custom Connectors.
2.1 General
- Name: e.g. OpenWeather Connector
- Host: api.openweathermap.org
- Base URL: /data/2.5/
- Description (example):
“The custom connector provides the ‘Current Weather’ action, which returns weather information for a defined location. The data source is openweathermap.org.”
Optional: Add an icon & color for better recognition.
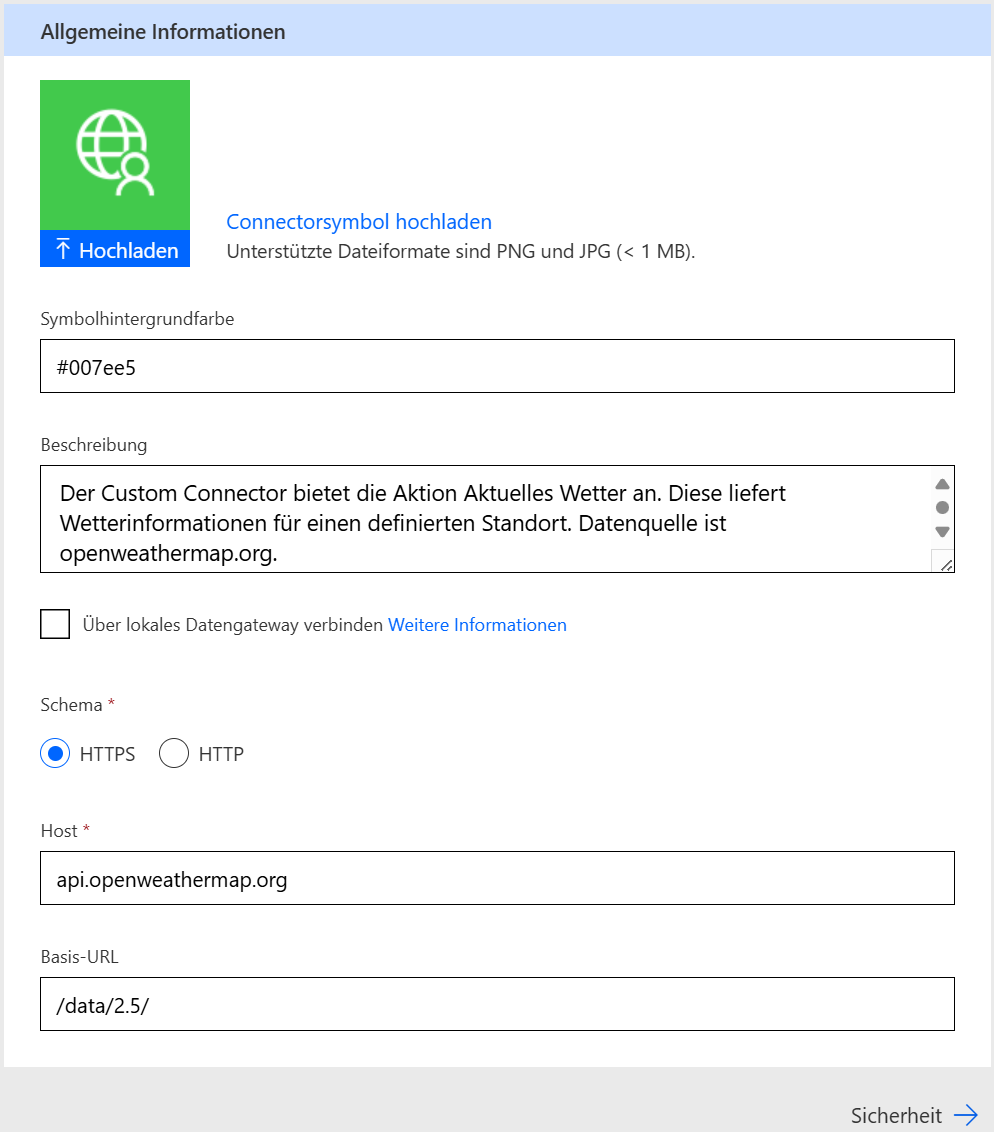
Power Apps: General section with host api.openweathermap.org and base URL /data/2.5/.
2.2 Security
- Authentication type: “API Key”
- Parameter label: any (e.g. “OpenWeather API Key”)
- Parameter name: appid (must match the API)
- Parameter location: Query (as in the Postman test)

Power Apps: Security section – authentication type API Key, parameter name appid, location Query.
2.3 Definition (Actions)
- Add a new action
- Summary: Current Weather
- Description: Returns current weather for a given position (lat/lon).
- Operation ID: CurrentWeatherForLocation (unique, no spaces)
Request:
Import the example request (e.g., from Postman or as a sample URL).
Remove appid from the parameters because the value is provided via the connection.
Keep lat and lon as query parameters.
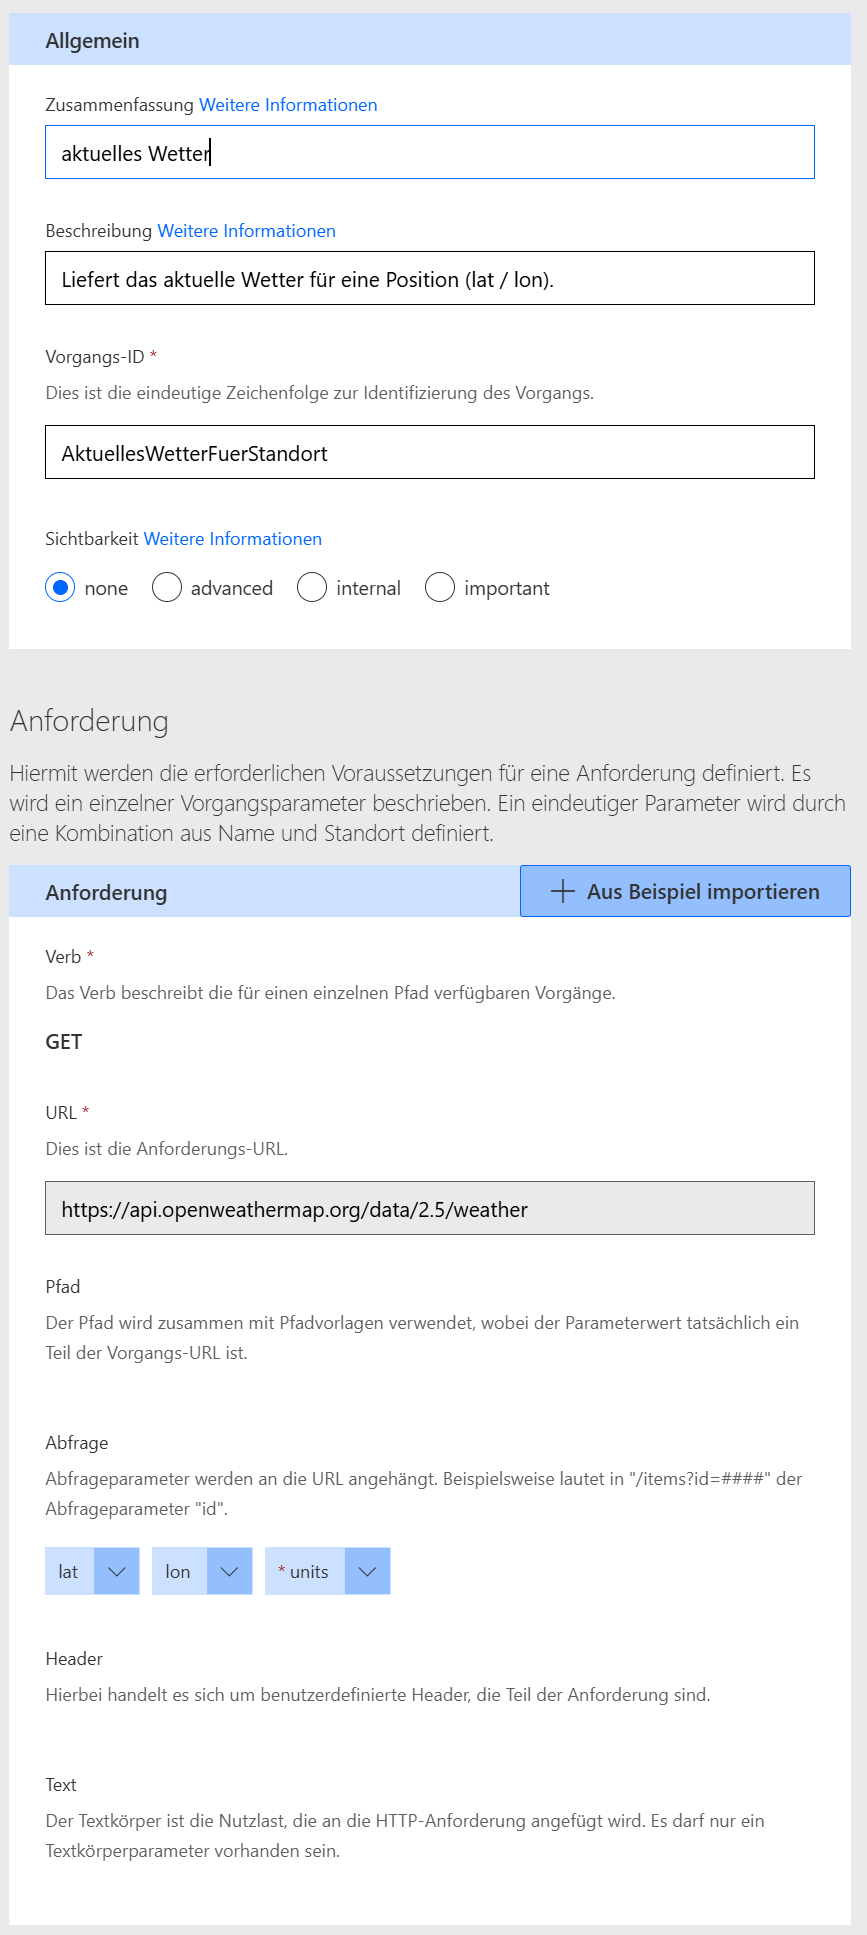
Power Apps: Definition section – action Current Weather with query parameters lat & lon.
2.4 Code (optional)
Here, you could transform API responses (e.g., forward only selected fields). For the first setup, we’ll skip this part.
2.5 Test
Save the connector → then, under the “Test” tab, create a new connection.
Enter your API key (appid).
Enter lat/lon, e.g. 48.17 and 11.61 (English Garden, Munich).
Run the test – you should see the JSON response.
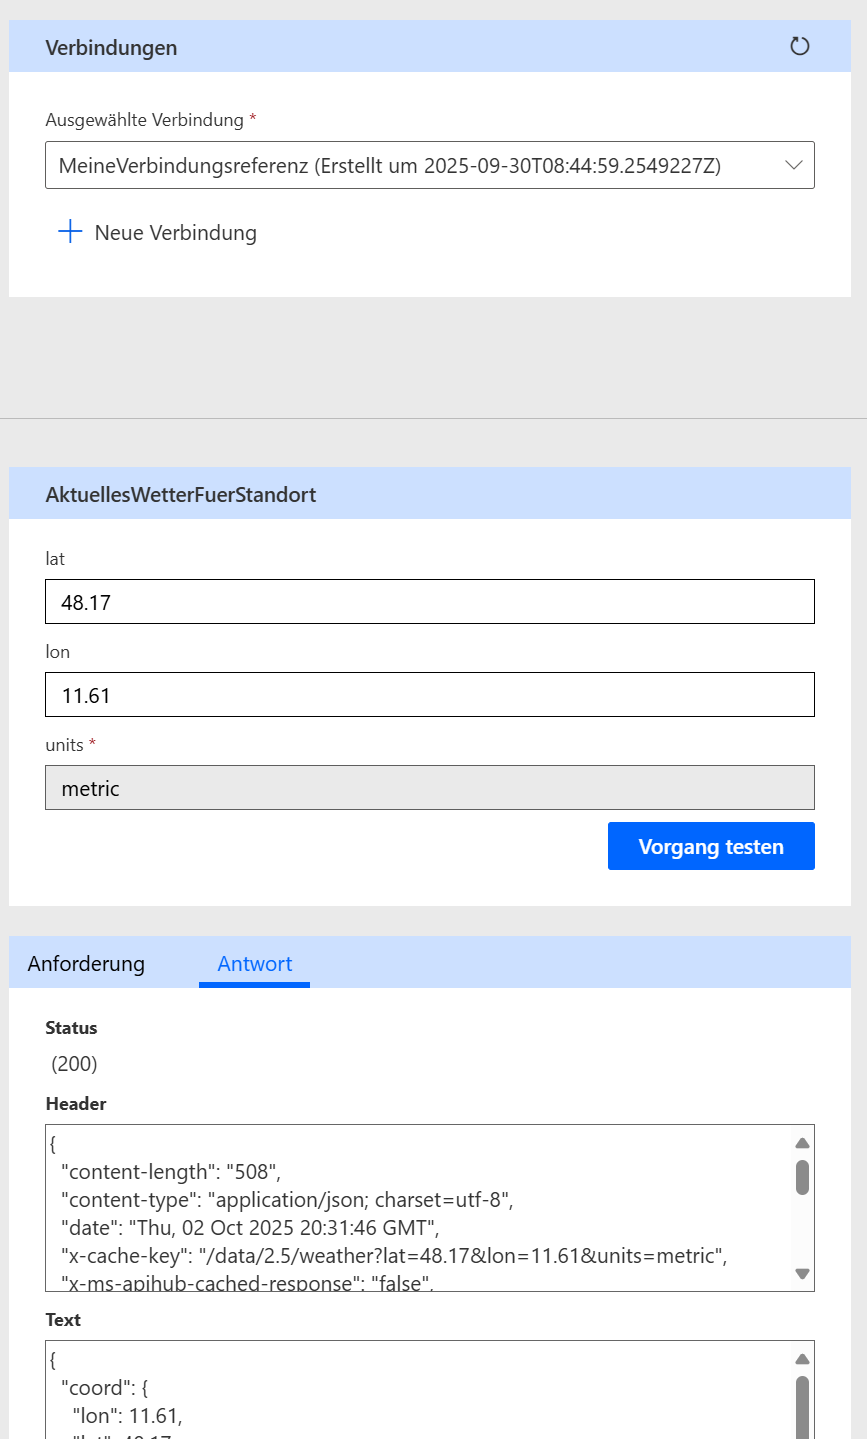
Power Apps: Test section – connection with API key and test call using lat=48.17, lon=11.61.
Step 3: Use in Power Automate
Create a new flow (e.g., “Manually triggered”).
Action → Custom → select your OpenWeather Connector.
Pass parameters: lat & lon.
Save and test the flow.
The output contains all weather data, which you can further process (e.g., condition, message, Teams post, email).
Power Automate: Flow action from the custom connector showing weather data output.
Example: Use fields from the response
body('CurrentWeatherForLocation')?['main']?['temp']
body('CurrentWeatherForLocation')?['weather']?[0]?['description']
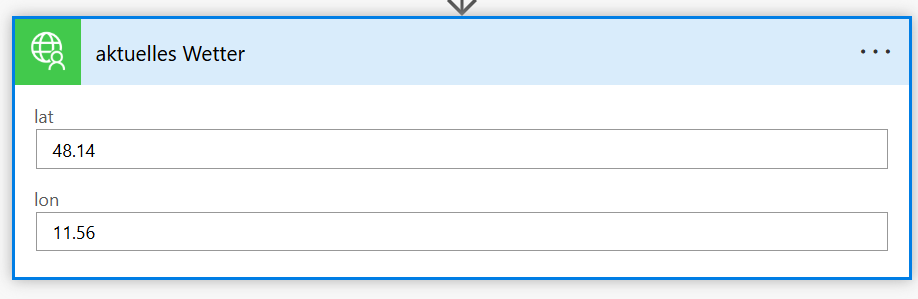
Step 4: Use in Power Apps (Canvas)
Add a data source → select your OpenWeather Connector.
In Power FX, call the action and pass parameters as a record.
Example (OnSelect of a button):
Set(
    gblWeather,
    OpenWeatherConnector.CurrentWeatherForLocation(
        { lat: 48.17, lon: 11.61 }
    )
)
Example (Text label):
"Temp: " & Round(gblWeather.main.temp, 1) & " °C — " &
First(gblWeather.weather).description
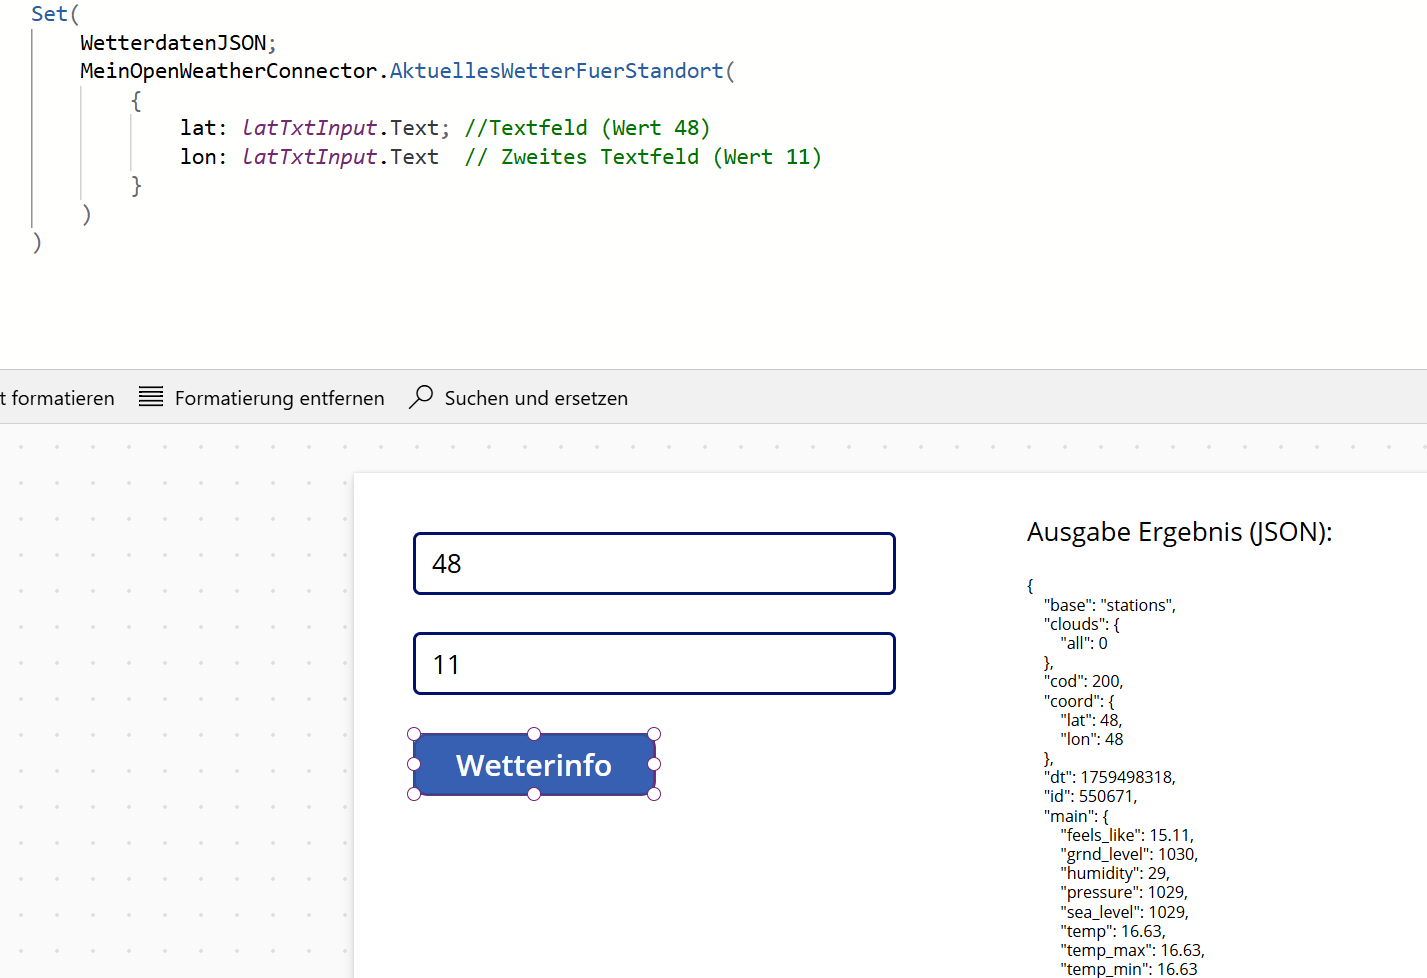
Power Apps (Canvas): Label showing temperature & description from gblWeather.
Tip: Define units=metric in the action or as an optional query parameter to return temperatures in °C.
Summary
- What? Custom connector for OpenWeatherMap
- Why? Use any REST API in the Power Platform
- How? Test in Postman → define connector → use in Flows & Apps
- Code? Power FX for calling & displaying results
- Next step: Package as a solution & connect more business APIs
Video: Step-by-step walkthrough
👉 Watch the tutorial here:
Custom Connector – OpenWeatherMap (YouTube)

Video tutorial for the blog post (YouTube | external link)
I plan to build my own interfaces between business applications next (e.g., project management, accounting, AI services).
Which applications would you like to connect? Let me know in the comments!